
|
5/3/2019 Day 7 - Outlining - Chapter ConflictChapter Conflict Without conflict, the character has nothing to drive them forward and the reader won't care about the character. If the reader doesn't care about the character, they don’t care about the book. Readers who don't care about the book won't leave a review, or worse, they will leave a negative review. So let's crank up the conflict in our stories and get those readers feeling bad for our characters! Conflict comes in many flavors, though generally when conflict is discussed in relation to the plot, it is speaking about the main character being up against something else. The something else can be another character, the character's self, nature, society, or something unnatural like fictional beasts, an omnipotent being, or technology. It is these conflicts that engage the character and by extension of that, engage the reader, so it is in the writer's best interest to make sure conflict is handled well in a story. Since variety is the spice of life, the conflict in our stories should be from all different sources and occur on different levels. Consider the difference between a slight disagreement to a full-out fistfight, or a dash through the rain compared to being stuck in a basement as a tornado sweeps through town. Remember too that all of our characters will handle stress, whether slight or severe in different ways, so where our main character might brush off a slight disagreement with their significant other, a disagreement with a coworker might be handled in a very different way. Finally, it's good to keep in mind that all these "little" confrontations will weigh on our characters in the same way they weigh on us. A couple of little things or even one big thing might be handled just fine, but if more and more start heaping on, we eventually reach a breaking point. The breaking point usually results in an emotional outburst of some sort (depending on the character), but the type of outburst can vary, again, depending on the character and the character's personality. Today's exercise will be about discovering all the points of conflict in our story, whether it is minor or major and indexing it so we can determine if we've heaped enough on our characters to reach the breaking point and get an emotional response from the reader. 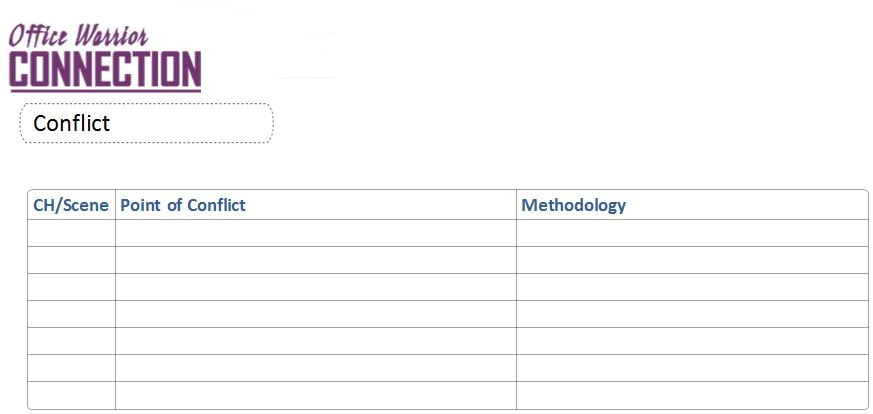 Today's Task
Days 3 - 7 are activities you can do in tandem with each other. Focus on understanding the steps you need to complete for today's outlining by working through Chapter One. As with the other outlines, today's process should be about creating today's worksheet and understanding how to use it rather than reading through the whole story and completing the outline as a single task. This is because you can read through each chapter and complete the various outlines all together and save yourself some time rather than reading through your story three or four times in a row. Remember, this is a fact-finding mission. You are analyzing what you actually wrote, not remembering off the top of your head what you intended to write. Exercise: Create a Conflict Worksheet If you are creating your notes in your OneNote Novel Editing notebook, follow these steps to complete the exercise:
Chapter Summary Parameters Chapter/Scene - Write in the chapter number or a short description of the chapter and scene. For shorthand notation, use C1S1 to represent Chapter 1 Scene 1. Point of Conflict - Provide a concise description of every conflict the main character runs into throughout your story. Every bit of aggravation should be listed, whether it's a thunderstorm, a bully, a burnt dinner, self-doubts, or a computer crash. If it gets in the way of the character's path to getting what they want, write it down. Methodology - Explain how the tension builds conflict for the character. Analysis of Conflict Once you have indexed all your points of conflict, you can analyze the stressors to see if you need to make any modifications. Review your list and ask yourself the following questions.
If you are working on Days 3 - 7 in conjunction with one another, you may have done enough today by creating your worksheets and reading chapter 1 five times in a row to get a good understanding of how you will be completing each worksheet to dig out the big plot holes. Try chapter 2 to make sure it all clicks if you need to. Day 8 will be how to find a flow to reading all the material of your novel and completing the worksheets all at once. It will give you a little more guidance on how to manage all the outlines while you read all your chapters. If you have time to begin reading more chapters after creating your Day 3 -7 outlines, go on and read Day 8. If creating your worksheets and working through Chapter 1 is all the time you have available for today, then read Day 8 when you are ready to get down to business. DOWNLOAD: Chapter Conflict Worksheet Template Instructions Tips for working by hand If you'd like to work on notepaper or set up your own table in your favorite application, include the columns listed above. The percentage listed is approximately the size you should make each column. If you are going to work by hand, don't draw the rows in until you start working and then add the rows as you complete each chapter. Next Steps If you've finished creating all the Outlining worksheets and have completed each of them for Chapter One of your book, you are ready to start the tedious process of reading and annotating. Read Day 7 for tips on preparing your workspace and using all the Outlining worksheets. Return to the Table of Contents Go to Day 8 - Find Your Flow 5/3/2019 Day 6 - Outlining - TimelineWhat are Timelines? A Timeline is a picture of how things occur within the space of time. Since we don't always write linearly, especially when we are blending in backstory throughout a novel, creating a timeline can give us a perspective of all the events as if they were linear. Creating a timeline after your write your book will make you focus on the arc of the story itself. Once you've completed it, you can compare it to a story arc (also known as the Hero's Journey) to see if you are hitting all the turning points at the right time. Since our characters are often affected by events in their past, you may find you actually need to create two timelines, one for current events and another for backstory. 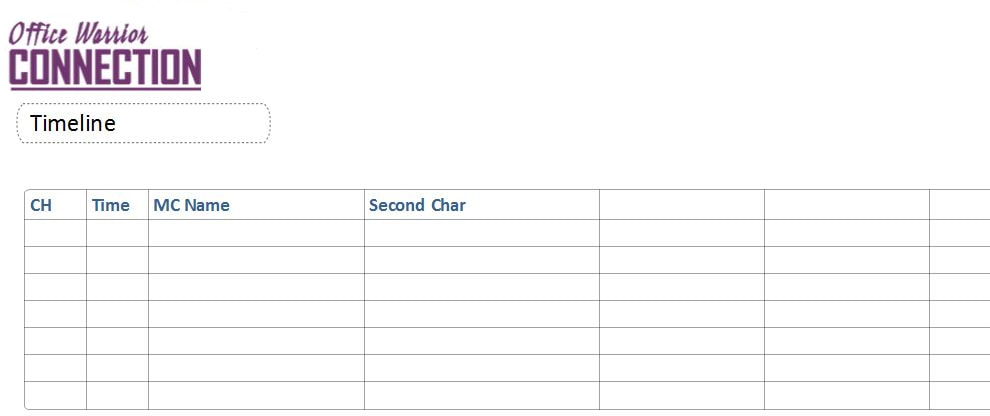 Today's Task
Days 3 - 7 are activities you can do in tandem with each other. Focus on understanding the steps you need to complete for today's outlining by working through Chapter One. If you have time after reading through your first chapter, go to Day 7 and begin that exercise. As with the other outlines, today's process should be about creating today's worksheet and understanding how to use it rather than reading through the whole story and completing the outline as a single task. This is because you can read through each chapter and complete the various outlines all together and save yourself some time rather than reading through your story three or four times in a row. Remember, this is a fact-finding mission. You are analyzing what you actually wrote, not remembering off the top of your head what you intended to write. Exercise: Complete the Timeline Worksheet If you are creating your notes in your OneNote Novel Editing notebook, follow these steps to complete the exercise:
Timeline Parameters Chapter - Write in the chapter number or a short description of the chapter. If you have very long chapters, you may wish to use scenes instead. Time - Add the time of day, day of the week, date, or whatever reference for time that is appropriate for the first scene in the chapter. As you work through your chapters, you will add the different time frames and events that occur. In the rest of the columns, which represent each of the characters in your story (including the antagonist), you will be adding descriptions of the action or events occurring. The idea is to make sure no character is out of place at any one point in time. A character cannot be in two places at the same time (unless you are writing some sort of science fiction and the space time continuum has been bent). You also need to make sure you have given your characters time to move from one place to another during scene changes. For characters who are not in the scenes, think about where they might be in the world of your story. They must be somewhere even if they aren't in the scene. Use a different font or pen color for scenes you have typed into your story versus off-scene characters. You will want to make sure those characters aren't in two places at once and have time to move around in your story's world as well. If you find mistakes or have questions about whether or not you've put your characters somewhere where they can't possibly be in some moment of time, make a note in the character's column. Remember! You aren't editing right now. You are reading your chapters to pick them apart. Make notes for what you need to edit later. Only read through Chapter 1 for now, then if you still have time, go on to Day 7 and start that worksheet. If you are able to create worksheets for Days 3 -7 in one sitting, that's great! It will allow you to read the rest of your chapters over the course of multiple days. If you are pinched for time, that's okay too. Do what you can and don't stress over what a long process editing can be. Try to give yourself a dedicated block of time just like you would do for writing and get done whatever you can. DOWNLOAD: Timeline Worksheet Template Instructions Tips for working by hand If you'd like to work on notepaper or set up your own table in your favorite application, include the columns listed above. The percentage listed is approximately the size you should make each column. If you are going to work by hand, include as many columns as you need. Other than the Time column which can represent day or hour, you will create a column for each important character in your story. That might mean 2 columns, 6 columns, 20 columns or more. You might need to use two or three sheets of paper wide and tape them together. Don't draw the rows in until you start working and then add the rows as you complete each chapter. Return to the Table of Contents Go to Day 7 - Outlining (Part 5 - Chapter Conflict) 5/3/2019 Day 5 - Outlining - Chapter SummaryWhy Do a Chapter Summary? One of the first things you should do after writing a novel is read for plot holes. This can be really hard as editors of our own work because our mind fills in holes for us. Outlining your novel with a chapter summary after you have written it will help you find plot holes, character discrepancies and setting disparity. Even if you plotted before you wrote the story, you should take the time to outline what you actually wrote, which could be wildly different than what you had in mind, especially if you wrote much of your manuscript during sprints. A Chapter Summary is a brief description of each chapter. As you read and focus on just one chapter at a time, you might be able to see where you missed important details. You can also make sure you understand the purpose of each chapter. Sometimes when we are sprinting, or even when we are taking our time and writing with intent, we add information that doesn't lead the story forward. Doing a chapter outline is a good chance to examine each chapter to determine, "Is it necessary?" 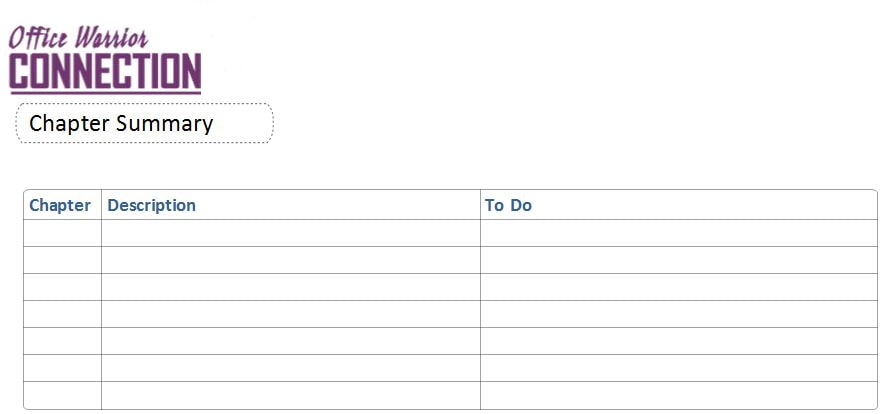 Today's Task
Days 3 - 7 are activities you can do in tandem with each other. Focus on understanding the steps you need to complete for today's outlining by working through Chapter One. If you have time after reading through your first chapter, go to Day 6 and begin that exercise. As with the other outlines, today's process should be about creating today's worksheet and understanding how to use it rather than reading through the whole story and completing the outline as a single task. This is because you can read through each chapter and complete the various outlines all together and save yourself some time rather than reading through your story three or four times in a row. Remember, this is a fact-finding mission. You are analyzing what you actually wrote, not remembering off the top of your head what you intended to write. Exercise: Complete the Chapter Summary Worksheet If you are creating your notes in your OneNote Novel Editing notebook, follow these steps to complete the exercise:
Chapter Summary Parameters Chapter - Put the chapter number or a very short description. If you have very long chapters, you may wish to use scenes instead. Description - Condense the chapter into a few sentences. Included in your notes should be a mention of purpose. Define why the chapter is important or how it leads the story forward. When you think about whether or not the content of the chapter moves the story forward determine whether or not you could remove it completely. If the story would still be fundamentally solid without a scene, make a note in the To Do column to consider removing it. Don’t delete it! Move it to a different location in case you can use the content in another scene or even a different story. To Do - Note what you find that needs fixing. Include items that you can see you need to strengthen or anything that doesn’t make sense or that just “feels” wrong. Look for cause and effect within the chapter. Lack of cause and effect is the equivalent of lack of tension which can present itself as “An action did not cause a reaction.” Try not to focus too much on fixing the issues right while you are in the middle of your fact-finding mission. Instead, work your way through your full story and make detailed notes about any corrections you want to make. Only read through Chapter 1 for now, then if you still have time, go on to Day 6 and start that worksheet. If you are able to create worksheets for Days 3 -7 in one sitting, that's great! It will allow you to read the rest of your chapters over the course of multiple days. If you are pinched for time, that's okay too. Do what you can and don't stress over what a long process editing can be. Try to give yourself a dedicated block of time just like you would do for writing and get done whatever you can. As a final note, hang onto your chapter summary. If you decide to query agents for publication, some of them may ask you for a story synopsis. Your chapter summary will be a valuable tool in writing your synopsis. DOWNLOAD: Chapter Summary Worksheet Template Instructions Tips for working by hand If you'd like to work on notepaper or set up your own table in your favorite application, include the columns listed above. The percentage listed is approximately the size you should make each column. If you are going to work by hand, don't draw the rows in until you start working and then add the rows as you complete each chapter. Return to the Table of Contents Go to Day 6 - Outlining (part 4 - Timeline) Setting Characteristics A well developed setting can set a mood or effect the behavior of the other characters in your story. Setting is a large part of world building. Just think about Star Wars or Harry Potter. Their settings are developed in a way that cause the characters of the stories to behave in certain ways and enhance the theme of the scene. In the case of Star Wars, if I say "the ice planet of Hoth" or "the cantina on Mos Eisley,"any fan will immediately envision the scenes that occurred in those settings. A Setting Characteristics outline will confirm that you have specified a locale, time of year, and time of day. Depending on your story, it may be important to capture climate, geography, or the socioeconomic and cultural aspects of the environment. Your setting can also be used as a foil to expressing the passage of time. A change in season, for instance, can mark the passing of several months rather than saying, "Four months later..." 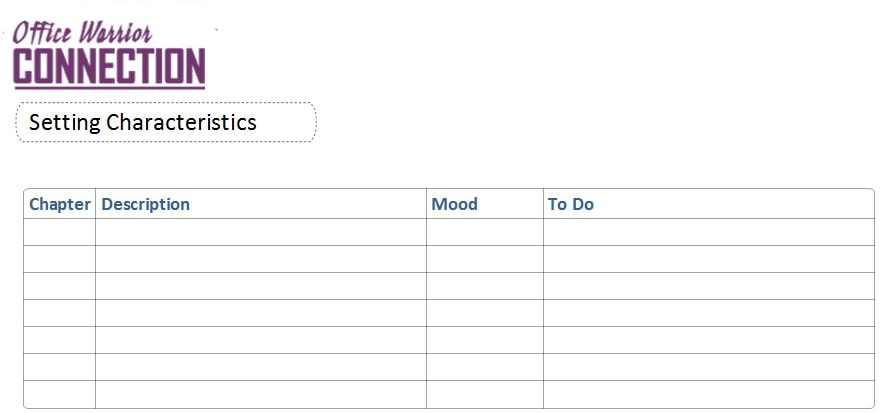 Today's Task
Days 3 - 7 are activities you can do in tandem with each other. Focus on understanding the steps you need to complete for today's outlining by working through Chapter One. If you have time after reading through your first chapter, go to Day 5 and begin that exercise. As with the other outlines, today's process should be about creating today's worksheet and understanding how to use it rather than reading through the whole story and completing the outline as a single task. This is because you can read through each chapter and complete the various outlines all together and save yourself some time rather than reading through your story three or four times in a row. Remember, this is a fact-finding mission. You are analyzing what you actually wrote, not remembering off the top of your head what you intended to write. Exercise: Complete the Setting Characteristics Worksheet If you are creating your notes in your OneNote Novel Editing notebook, follow these steps to complete the exercise:
Setting Characteristic Parameters Chapter - Write in the chapter number or a short description of the chapter. If you have long chapters, you may wish to break this down further into scenes. Description - Make notes about the setting as you have described it. Keep an eye out for anything that suggests weather, time of day, or season. Mood - Write down a word or short phrase that captures the essence of the mood of the chapter based on the descriptions of the setting supplied by the words and phrases of each chapter or scene. Do not do this from memory. To Do - Make notes about anywhere the setting didn’t capture the mood you intended, or if you think you could strengthen the mode by providing a better description. Also, if you wrote about the setting but it didn't have a cause and effect element between setting and characters, ask yourself if you need the text. If you don't, make a note to delete it later. You may find you have chapters where setting is not mentioned at all. Note those chapters on your outline in case you decide later you can strengthen your story by adding something. Only read through Chapter 1 for now, then if you still have time, go on to Day 5 and start that worksheet. If you are able to create worksheets for Days 3 -7 in one sitting, that's great! It will allow you to read the rest of your chapters over the course of multiple days. If you are pinched for time, that's okay too. Do what you can and don't stress over what a long process editing can be. Try to give yourself a dedicated block of time just like you would do for writing and get done whatever you can. DOWNLOAD: Setting Characteristics Worksheet Template Instructions Tips for working by hand If you'd like to work on notepaper or set up your own table in your favorite application, include the columns listed above. The percentage listed is approximately the size you should make each column. If you are going to work by hand, don't draw the rows in until you start working and then add the row designations as you complete each chapter. Return to the Table of Contents Go to Day 5 - Outlining (Part 3 - Chapter Summary) What are Character Attributes? Character attributes are everything you (or the reader) can use to describe a character. Consider how many words it would take if you had to sit down and describe every attribute that makes you a person separate and different than any other person. Start with how you look to others. Physical attributes include the color of your hair, eyes, and skin, whether you walk with a limp, the fact that you get hiccups after you drink Vernors (Michigan gal here, I think the rest of you call it Ginger Ale), or how you have the cutest little heart scar that you got when you fell off your bike while you were learning to ride it and your mother told you later you had been kissed by the earth. Our outward appearances alone could fill a book. Beyond physical descriptions, we all have biases, philosophies, religious belief systems, traumas, motivations, likes and dislikes, hopes and fears, and more. Our non-physical traits could probably fill a tome. Some of our traits will guide who we are and some will guide how we act in the world or react to events and stressors in the world we walk in. As authors, our goal should be to create characters who feel as real as we do. They should be made up the traits which show they aren't one hundred percent perfect and good or one hundred percent imperfect and bad, and it's our responsibility as writers and editors to make our characters believable. What is a Character Profile? A character profile is often done by writers either before or during the plotting of a novel. Getting to know characters on a level deeper than the surface (such as their eye or hair color), helps determine behaviors throughout the story and makes the characters more believable. A character profile will include physical traits, but it may also include motivations, philosophies, likes and dislikes, back story, and more. The profile will also help determine a character's negative traits or flaws instead of just the character's positive attributes. Flaws make a character feel more real and relatable. If you are interested in learning more about completing character profiles, I recommend Writer's Write or Reedsy because they have really good profiling information and outlines. I also have a OneNote section that I use for character profiling which I built by compiling information from many different sources. You can download my section template. 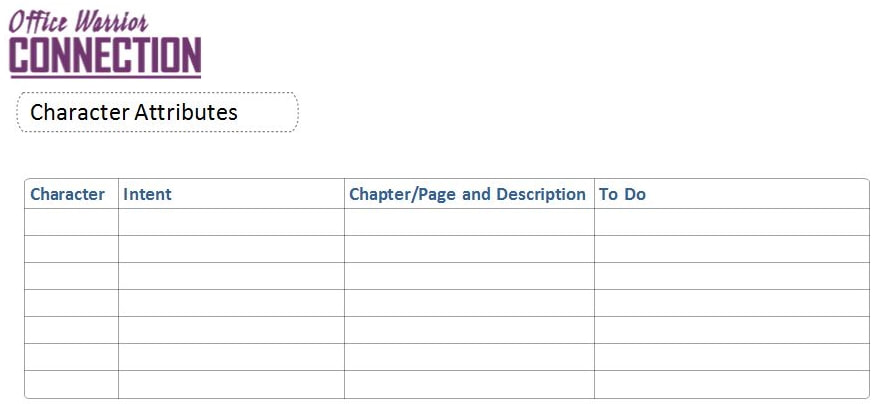 Today's Task
A character attributes outline will make sure you've constructed a character with depth, as well as stayed consistent in not only physical characteristics, but also in personality, style and psyche. This is the flip-side, post-writing, of a character profile that you may have done while plotting. If you did character profiles before you wrote your story, it's nice to be able to compare what you intended to portray with how your characters actually turned out. You may find that you plotted a character with brown eyes for some very good reason, but then wrote in the story that the character had blue eyes. That inconsistency may need to be fixed, or you may have come up with a better reason mid-story why the character needed those blue eyes after all. A reference to the character's brown eyes later in the story would then need to be addressed instead. Days 3 - 7 are activities you can do in tandem with each other. Focus on understanding the steps you need to complete for today's outlining by working through Chapter One. If you have time after reading through your first chapter, go to Day 4 and begin that exercise. As with the other outlines, today's process should be about creating today's worksheet and understanding how to use it rather than reading through the whole story and completing the outline as a single task. This is because you can read through each chapter and complete the various outlines all together and save yourself some time rather than reading through your story three or four times in a row. Exercise: Complete the Character Attributes Worksheet If you are creating your notes in your OneNote Novel Editing notebook, follow these steps to complete the exercise:
Character Attribute Parameters Character - Write in the character's name or, if un-named, a short description. You can do this portion of the exercise from memory. You do not need to list very minor characters unless they come in and out of scenes in multiple places in the story. Intent - You can do this column from memory. Provide a concise description of how you intended your character to be perceived by other characters in the book and by the reader. If you did character profiles before you wrote your story, you may be able to gather some basic information from your profiles to complete this column. An example of what you might write in this column would be, "Evan is a teen conspiracy theorist with flaming red hair who talks too much." Chapter/Page and Description - This portion of the exercise is the fact-finding portion. Do not work from memory for this column. You are analyzing what you actually wrote about your characters. Consider including sections for each type of attribute. For instance, you might include headings such as one for physical description where you document eye color, hair color, and skin tone; another section for personality characteristics like quirks, life philosophy, etc. Remember, you are tracking these traits to ensure you have been consistent from chapter one and all the way through until you typed The End. To Do - Once you have completed the outline for all the chapters, compare the information you collected with your character intentions. You should be looking very closely for evidence that either supports or refutes what you intended your characters to be like. In the To Do column, make a note of any inconsistencies that you find OR any behaviors that are not consistent with the traits you've given your characters. For instance, would a shy character walk into a party wearing neon pink? Maybe, but if that is completely inconsistent with how you envision your character, it might be a note you make in order to correct the scene. Again, try not to make all the corrections as you read through the chapters. Focus on getting the traits down on paper and looking for inconsistencies where a character's trait doesn't mesh with their behavior. If you start making changes before you have finished reading through all your chapters, you may find you are doubling or even tripling your work because you may change something that you realize later you need to revert back or even change yet again. Only read through Chapter 1 for now, then if you still have time, go on to Day 4 and start that worksheet. If you are able to create worksheets for Days 3 -7 in one sitting, that's great! It will allow you to read the rest of your chapters over the course of multiple days. If you are pinched for time, that's okay too. Do what you can and don't stress over what a long process editing can be. Try to give yourself a dedicated block of time just like you would do for writing and get done whatever you can. DOWNLOAD: Character Attributes Worksheet Template Instructions Tips for working by hand If you'd like to work on notepaper or set up your own table in your favorite application, include the columns listed above for each table. The percentage listed is approximately the size you should make each column. If you are going to work by hand, on the second table be sure to give your main character their own page and important secondary characters a half or third of a sheet. Your minor characters may only need a couple lines each. You have a better idea of how much detail your characters were intended to have, so plan your space accordingly. Return to the Table of Contents Go to Day 4 - Outlining (Part 2 - Setting Characteristics) 5/2/2019 Day 2 - Write a BlurbWhat is a Blurb? At some point in the publication process, probably before you actually hit the Publish button, you will write the "real" blurb for your book (or find someone famous to write one for you!). At one time, the book blurb was the paragraph found on the back of a book or on the back dust cover that acted as a sales pitch for the book. Now blurbs are used all over the place including on the author's website, on social media sites, and in book trailers. You can find lots of websites giving recommendations on how to write a killer blurb and you should definitely check them out when you get ready to publish. I'd recommend any of the posts by Reedsy (https://blog.reedsy.com/write-blurb-novel/), Kindlepreneur (https://kindlepreneur.com/back-book-cover-blurb/), and Writers Write (https://writerswrite.co.za/how-to-write-an-irresistible-book-blurb-in-five-easy-steps/). The blurb you write here is not intended to be your final book blurb. This one is to give you focus for the editing process. It should help you nail down what you intended to be the essence of your story as you were writing it, including who is your main character and what is it the main character needs to do. Rather than read through your story to see if you wrote everything you thought you wrote (we'll do that later), first create the Blurb worksheet below and fill in the blanks. Exercise: Write Your Blurb If you are creating your notes in your OneNote Novel Editing notebook, follow these steps to complete the exercise:
Once you have thought this out and feel like you have figured out the essence of your story, write it on a sticky note or print it out in 18 point letters so you can refer back to it while working through the rest of your edits. DOWNLOAD: Blurb Worksheet Template Instructions Return to the Table of Contents Go to Day 3 - Outlining (Part 1 - Character Attributes) 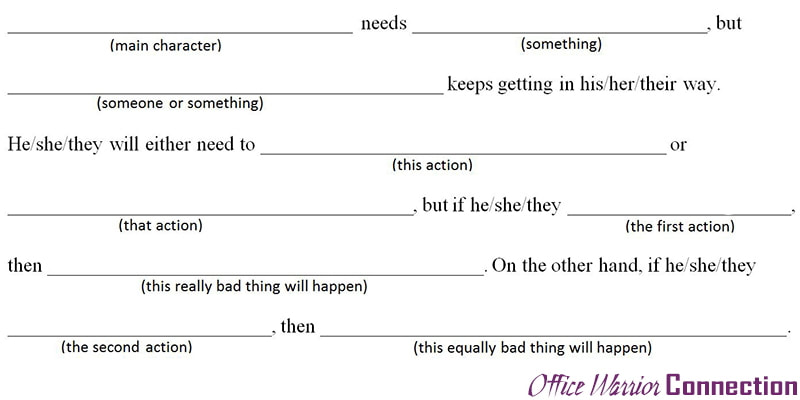 Microsoft OneNote offers a nice way to save pages to share with others in the form of page templates. You can export a single page, a whole section or even multiple sections as "*.one" section using the File > Export options in the ribbon. Once shared, you can either open the page and add it to another notebook (though why not just drag and drop while holding the Control key, which copies the page to the new location when dropped), or you can share it with someone else so they can add it to their notebook. I've offered multiple page templates for download on the Office Warrior Connection pages.  Download and Use the Page Templates from the OneNote
|
 RSS Feed
