
|
5/3/2019 Day 8 - Find Your FlowOrganize Your Workspace Week one of editing is in the books! Well done! Of course, now we get down to the challenge. Editing is a lot like completing a puzzle. Sometimes the pieces don't fit even though they look like they should. Sometimes all the pieces come together with hardly any work at all. And sometimes we have to spin some stuff around until it fits into place. Sometimes we lose a piece under the table. It's always fun when you get a piece from another box too, right? You may have started one worksheet each day, or you may have created all your worksheets in one day and are now ready to spend the next six days reading and annotating. You may be thinking to yourself, "This is a lot of worksheets." You're right. It is. I recommend you give yourself plenty of space to work. If you are working on hand-written outlines, find a place where you can spread out. You will be picking up and setting aside the various pages. A lot. If you are working strictly on your computer, and have dual monitors, you might try using Cascading Windows. To cascade your windows, follow these steps:
If you are working on your computer, a table device, or your phone, things will be a little more challenging for you as you swap in and out of outlines. In this case, think about printing a copy of your book if possible so you can read through the paper copy while working the outlines on the computer. Find Your Flow Once you've gotten the workspace under control, the next step is to find a rhythm to Read-Notate-Summarize-Repeat. When I first start my big picture edits, I like to start with my Setting and Character Analysis worksheets on top, and the reason is because the first handful of chapters are when you introduce characters and build their world. Somewhere about a quarter of the way through, you will find you are reaching for those worksheets less and by the time you are half-way through, you may not be reaching for them at all because your characters will be on pretty solid footing. You will only need those worksheets for major shifts or reveals...those ah-ha moments when readers think, "Oh, that's why she did that." Try to read through the chapter without stopping to edit as much as possible. Only pause when you have read a character or setting attribute. Stop mid-scene to notate items that are details about characters or setting. After you have finished reading through the chapter, then complete the Chapter Summary, Timeline, and Conflict worksheets while the chapter is still fresh in your mind. If you can't remember something, flip back and reread. If your chapters tend toward the long side, you can break your chapters down into scenes. Use a Highlighter Use a highlighter judiciously. Whether you are working in a paper copy of your book or with an electronic version, the highlighter will be your friend when you are trying to get through massive amounts of text in a relatively short period of time. If something doesn't read right, don't fix it - highlight it. If you have a specific note you need to make so you don't forget why you highlighted it, use Comments or make a note on one of the outlining worksheets. It doesn't matter if the worksheet isn't expressly made for whatever notation you are making. The point is to capture everything you think you need to fix but stay in your groove. Okay! Let's get reading and annotating! DOWNLOAD: Instructions for Analysis of Outlines Template Instructions Return to the Table of Contents Go to Day 9 - Map Your Chapter Summary to a Story Arc 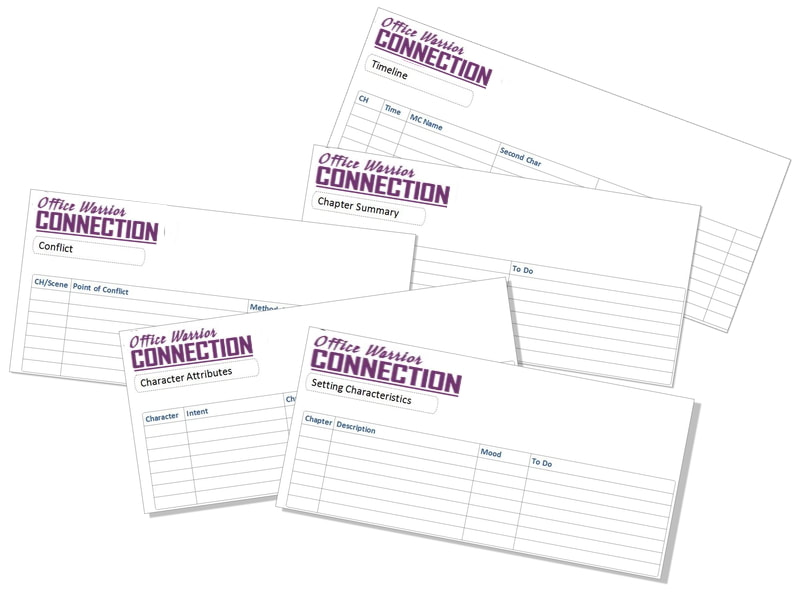 Comments are closed.
|
 RSS Feed
