
|
5/16/2019 Day 16 - Setting as a CharacterHow Setting Can Be A Character Most novels have several different settings within them. Each setting will have its own characteristics, from a bustling, noisy café, to a sleepy quiet waiting room, to a dark forbidding forest. Those characteristics can cause our characters to act or react in very specific ways that have to do with their hopes, fears, and aspirations. Consider for a moment, Black Beauty. One scene that comes to mind is at the track during a downpour. The rain is making the track slippery with mud. Our characters have to make a choice about racing Black Beauty in the rain or forfeiting. When they decide it will be worth it to test Black Beauty, they find out he's a mudder (a horse that runs very well under these weather conditions). Settings that have an effect on our characters should be developed as characters themselves, at least for the scenes in which they take place. They can be used as foils for increasing tension or providing relief as a breather after moments of high action. On the one hand, a walk in the forest can be scary if the forest is dark and foreboding, but it can also be a moment where a character regroups their thoughts or finds peace in the dappling sunlight as it comes through the gently rustling leaves. The setting characteristics outlining exercise from Day 4 was very similar to today's exercise, but here we will go one step deeper and focus on presenting our setting as a character. This exercise is about enhancing your settings by adding more detail in a very deliberate way. Therefore, you could start from the worksheet from Day 4, but consider creating a whole new worksheet in order to take that closer look. 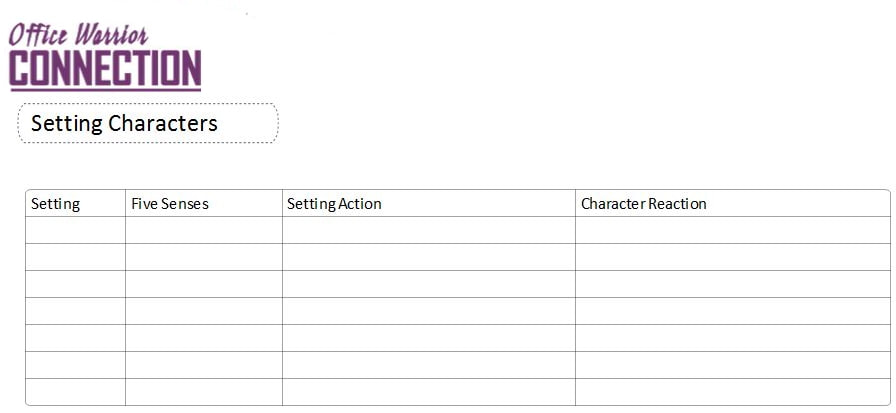 Exercise: Setting Characters worksheet
Setting Characteristic Parameters Setting - Write in the chapter number and scene number o the scene. I like to use a shorthand notation of C1S1 which represents Chapter 1 Scene 1. Optionally, you can use a short description. Five Senses - Define the ways you have used each of the five senses to evoke the mood of the setting. Mood depends on how you want the character to react. If this is an action sequence, the mood should amp up the character's behavior, but if this is a breather, the mood should be restful. Action - The mood of the setting may be the "action" of the setting, but our environments can be more than mood. Take for instance, an earthquake. The mood of the setting might be carefree or the normal day-to-day apathy we all experience as we go about our daily routines, but the sense of the ground rolling beneath our feet and the low rumble complemented by the tinkling of glass from the vibrations of an earthquake would also be an "action" in our setting. Character Reaction - Describe the way the character(s) react(s) to the setting. Analysis of the Worksheet
DOWNLOAD: Setting Characters Worksheet Template Instructions Tips for working by hand If you'd like to work on notepaper or set up your own table in your favorite application, include the columns listed above for each table. The percentage listed is approximately the size you should make each column. Add rows as you work down through your chapters. Leave a little extra space between scenes as you work in case you want to add more details as you work further into your story. Return to the Table of Contents Go to Day 17 - Head Hopping 5/14/2019 Day 14 - Build TensionBuild More Tension in Your Story While tension in a story can be tested by reviewing pace (see Overall Chapter Pacing), you can also make sure your story doesn't lag in the middle due to tension not ramping up. If action rises and falls along a flat plane rather than rising and falling with incremental increases, the center of the story can feel repetitious and as if nothing is really moving forward. The way to correct this is to make sure the tension is building with each conflict. For example, in a romance novel, tension may build between the main character as the love interest in the following ways:
In the example above, a "first fight" is often disregarded in a relationship, especially if it's a new relationship as a minor tiff or lover's quarrel indicative of nothing in the bigger scheme of love. When friends bring evidence to the table, though, doubts may be sewn in the main character's mind but then also rationalized as if the friends are jealous. But when the best friend gives hard evidence, the main character now has to make some decision that is going to bring the conflict to the cusp of the climax. Each conflict ramps up the discord in the main character's heart. For this exercise, you will need to think about all the ways you are causing discord between your main character and one of the following: their self, a secondary character(s), the antagonist, or the reader. You will be able to use your Chapter Summary for this exercise, but will also be creating another worksheet. For this worksheet, you will be moving to the Developmental Edit section of the notebook because we are starting to crystallize the story. 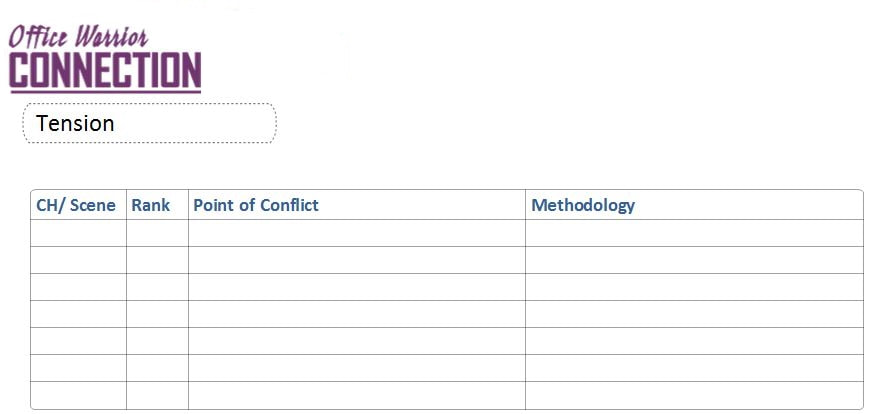 Exercise: Create a Tension Worksheet
Analysis of your conflict After you have ranked all your scenes with conflict, you can ask yourself the following questions to see if you need to make repairs.
Methods you can consider for fixing or adding more tension
DOWNLOAD: Tension From Conflict Worksheet Template Instructions Tips for working by hand If you created the Conflict worksheet earlier, you can use highlighters to either highlight the items indicated in the instructions or eliminate them. (Do whichever offers the least amount of work and color on the page.) Add a rank column wherever you can squeeze it in. Maybe at the front of the columns you first created or the end. If you don't have much room, consider using a different colored pen or pencil for marking the rank. Return to the Table of Contents Go to Day 15 - Character Arcs 5/3/2019 Day 8 - Find Your FlowOrganize Your Workspace Week one of editing is in the books! Well done! Of course, now we get down to the challenge. Editing is a lot like completing a puzzle. Sometimes the pieces don't fit even though they look like they should. Sometimes all the pieces come together with hardly any work at all. And sometimes we have to spin some stuff around until it fits into place. Sometimes we lose a piece under the table. It's always fun when you get a piece from another box too, right? You may have started one worksheet each day, or you may have created all your worksheets in one day and are now ready to spend the next six days reading and annotating. You may be thinking to yourself, "This is a lot of worksheets." You're right. It is. I recommend you give yourself plenty of space to work. If you are working on hand-written outlines, find a place where you can spread out. You will be picking up and setting aside the various pages. A lot. If you are working strictly on your computer, and have dual monitors, you might try using Cascading Windows. To cascade your windows, follow these steps:
If you are working on your computer, a table device, or your phone, things will be a little more challenging for you as you swap in and out of outlines. In this case, think about printing a copy of your book if possible so you can read through the paper copy while working the outlines on the computer. Find Your Flow Once you've gotten the workspace under control, the next step is to find a rhythm to Read-Notate-Summarize-Repeat. When I first start my big picture edits, I like to start with my Setting and Character Analysis worksheets on top, and the reason is because the first handful of chapters are when you introduce characters and build their world. Somewhere about a quarter of the way through, you will find you are reaching for those worksheets less and by the time you are half-way through, you may not be reaching for them at all because your characters will be on pretty solid footing. You will only need those worksheets for major shifts or reveals...those ah-ha moments when readers think, "Oh, that's why she did that." Try to read through the chapter without stopping to edit as much as possible. Only pause when you have read a character or setting attribute. Stop mid-scene to notate items that are details about characters or setting. After you have finished reading through the chapter, then complete the Chapter Summary, Timeline, and Conflict worksheets while the chapter is still fresh in your mind. If you can't remember something, flip back and reread. If your chapters tend toward the long side, you can break your chapters down into scenes. Use a Highlighter Use a highlighter judiciously. Whether you are working in a paper copy of your book or with an electronic version, the highlighter will be your friend when you are trying to get through massive amounts of text in a relatively short period of time. If something doesn't read right, don't fix it - highlight it. If you have a specific note you need to make so you don't forget why you highlighted it, use Comments or make a note on one of the outlining worksheets. It doesn't matter if the worksheet isn't expressly made for whatever notation you are making. The point is to capture everything you think you need to fix but stay in your groove. Okay! Let's get reading and annotating! DOWNLOAD: Instructions for Analysis of Outlines Template Instructions Return to the Table of Contents Go to Day 9 - Map Your Chapter Summary to a Story Arc  5/3/2019 Day 7 - Outlining - Chapter ConflictChapter Conflict Without conflict, the character has nothing to drive them forward and the reader won't care about the character. If the reader doesn't care about the character, they don’t care about the book. Readers who don't care about the book won't leave a review, or worse, they will leave a negative review. So let's crank up the conflict in our stories and get those readers feeling bad for our characters! Conflict comes in many flavors, though generally when conflict is discussed in relation to the plot, it is speaking about the main character being up against something else. The something else can be another character, the character's self, nature, society, or something unnatural like fictional beasts, an omnipotent being, or technology. It is these conflicts that engage the character and by extension of that, engage the reader, so it is in the writer's best interest to make sure conflict is handled well in a story. Since variety is the spice of life, the conflict in our stories should be from all different sources and occur on different levels. Consider the difference between a slight disagreement to a full-out fistfight, or a dash through the rain compared to being stuck in a basement as a tornado sweeps through town. Remember too that all of our characters will handle stress, whether slight or severe in different ways, so where our main character might brush off a slight disagreement with their significant other, a disagreement with a coworker might be handled in a very different way. Finally, it's good to keep in mind that all these "little" confrontations will weigh on our characters in the same way they weigh on us. A couple of little things or even one big thing might be handled just fine, but if more and more start heaping on, we eventually reach a breaking point. The breaking point usually results in an emotional outburst of some sort (depending on the character), but the type of outburst can vary, again, depending on the character and the character's personality. Today's exercise will be about discovering all the points of conflict in our story, whether it is minor or major and indexing it so we can determine if we've heaped enough on our characters to reach the breaking point and get an emotional response from the reader. 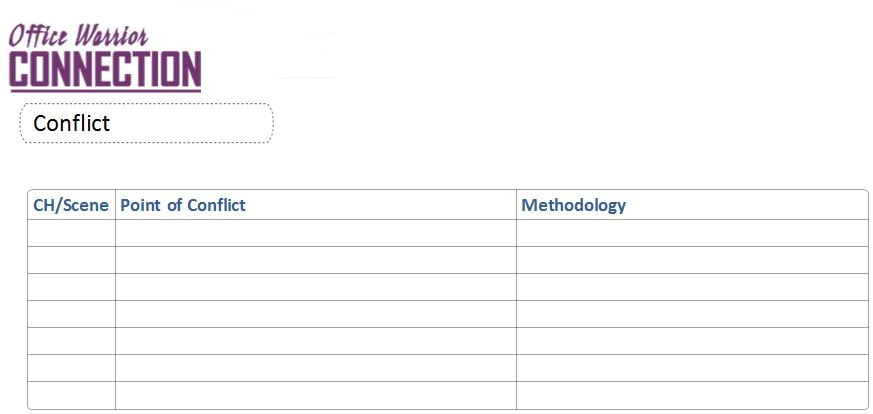 Today's Task
Days 3 - 7 are activities you can do in tandem with each other. Focus on understanding the steps you need to complete for today's outlining by working through Chapter One. As with the other outlines, today's process should be about creating today's worksheet and understanding how to use it rather than reading through the whole story and completing the outline as a single task. This is because you can read through each chapter and complete the various outlines all together and save yourself some time rather than reading through your story three or four times in a row. Remember, this is a fact-finding mission. You are analyzing what you actually wrote, not remembering off the top of your head what you intended to write. Exercise: Create a Conflict Worksheet If you are creating your notes in your OneNote Novel Editing notebook, follow these steps to complete the exercise:
Chapter Summary Parameters Chapter/Scene - Write in the chapter number or a short description of the chapter and scene. For shorthand notation, use C1S1 to represent Chapter 1 Scene 1. Point of Conflict - Provide a concise description of every conflict the main character runs into throughout your story. Every bit of aggravation should be listed, whether it's a thunderstorm, a bully, a burnt dinner, self-doubts, or a computer crash. If it gets in the way of the character's path to getting what they want, write it down. Methodology - Explain how the tension builds conflict for the character. Analysis of Conflict Once you have indexed all your points of conflict, you can analyze the stressors to see if you need to make any modifications. Review your list and ask yourself the following questions.
If you are working on Days 3 - 7 in conjunction with one another, you may have done enough today by creating your worksheets and reading chapter 1 five times in a row to get a good understanding of how you will be completing each worksheet to dig out the big plot holes. Try chapter 2 to make sure it all clicks if you need to. Day 8 will be how to find a flow to reading all the material of your novel and completing the worksheets all at once. It will give you a little more guidance on how to manage all the outlines while you read all your chapters. If you have time to begin reading more chapters after creating your Day 3 -7 outlines, go on and read Day 8. If creating your worksheets and working through Chapter 1 is all the time you have available for today, then read Day 8 when you are ready to get down to business. DOWNLOAD: Chapter Conflict Worksheet Template Instructions Tips for working by hand If you'd like to work on notepaper or set up your own table in your favorite application, include the columns listed above. The percentage listed is approximately the size you should make each column. If you are going to work by hand, don't draw the rows in until you start working and then add the rows as you complete each chapter. Next Steps If you've finished creating all the Outlining worksheets and have completed each of them for Chapter One of your book, you are ready to start the tedious process of reading and annotating. Read Day 7 for tips on preparing your workspace and using all the Outlining worksheets. Return to the Table of Contents Go to Day 8 - Find Your Flow Setting Characteristics A well developed setting can set a mood or effect the behavior of the other characters in your story. Setting is a large part of world building. Just think about Star Wars or Harry Potter. Their settings are developed in a way that cause the characters of the stories to behave in certain ways and enhance the theme of the scene. In the case of Star Wars, if I say "the ice planet of Hoth" or "the cantina on Mos Eisley,"any fan will immediately envision the scenes that occurred in those settings. A Setting Characteristics outline will confirm that you have specified a locale, time of year, and time of day. Depending on your story, it may be important to capture climate, geography, or the socioeconomic and cultural aspects of the environment. Your setting can also be used as a foil to expressing the passage of time. A change in season, for instance, can mark the passing of several months rather than saying, "Four months later..." 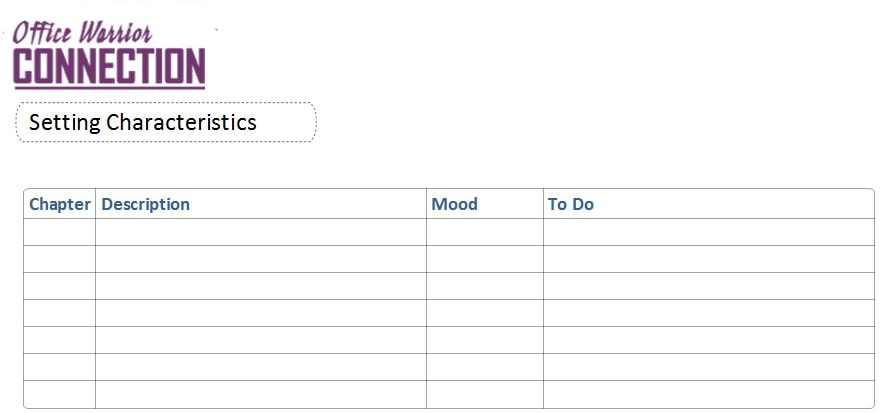 Today's Task
Days 3 - 7 are activities you can do in tandem with each other. Focus on understanding the steps you need to complete for today's outlining by working through Chapter One. If you have time after reading through your first chapter, go to Day 5 and begin that exercise. As with the other outlines, today's process should be about creating today's worksheet and understanding how to use it rather than reading through the whole story and completing the outline as a single task. This is because you can read through each chapter and complete the various outlines all together and save yourself some time rather than reading through your story three or four times in a row. Remember, this is a fact-finding mission. You are analyzing what you actually wrote, not remembering off the top of your head what you intended to write. Exercise: Complete the Setting Characteristics Worksheet If you are creating your notes in your OneNote Novel Editing notebook, follow these steps to complete the exercise:
Setting Characteristic Parameters Chapter - Write in the chapter number or a short description of the chapter. If you have long chapters, you may wish to break this down further into scenes. Description - Make notes about the setting as you have described it. Keep an eye out for anything that suggests weather, time of day, or season. Mood - Write down a word or short phrase that captures the essence of the mood of the chapter based on the descriptions of the setting supplied by the words and phrases of each chapter or scene. Do not do this from memory. To Do - Make notes about anywhere the setting didn’t capture the mood you intended, or if you think you could strengthen the mode by providing a better description. Also, if you wrote about the setting but it didn't have a cause and effect element between setting and characters, ask yourself if you need the text. If you don't, make a note to delete it later. You may find you have chapters where setting is not mentioned at all. Note those chapters on your outline in case you decide later you can strengthen your story by adding something. Only read through Chapter 1 for now, then if you still have time, go on to Day 5 and start that worksheet. If you are able to create worksheets for Days 3 -7 in one sitting, that's great! It will allow you to read the rest of your chapters over the course of multiple days. If you are pinched for time, that's okay too. Do what you can and don't stress over what a long process editing can be. Try to give yourself a dedicated block of time just like you would do for writing and get done whatever you can. DOWNLOAD: Setting Characteristics Worksheet Template Instructions Tips for working by hand If you'd like to work on notepaper or set up your own table in your favorite application, include the columns listed above. The percentage listed is approximately the size you should make each column. If you are going to work by hand, don't draw the rows in until you start working and then add the row designations as you complete each chapter. Return to the Table of Contents Go to Day 5 - Outlining (Part 3 - Chapter Summary) 5/2/2019 Day 2 - Write a BlurbWhat is a Blurb? At some point in the publication process, probably before you actually hit the Publish button, you will write the "real" blurb for your book (or find someone famous to write one for you!). At one time, the book blurb was the paragraph found on the back of a book or on the back dust cover that acted as a sales pitch for the book. Now blurbs are used all over the place including on the author's website, on social media sites, and in book trailers. You can find lots of websites giving recommendations on how to write a killer blurb and you should definitely check them out when you get ready to publish. I'd recommend any of the posts by Reedsy (https://blog.reedsy.com/write-blurb-novel/), Kindlepreneur (https://kindlepreneur.com/back-book-cover-blurb/), and Writers Write (https://writerswrite.co.za/how-to-write-an-irresistible-book-blurb-in-five-easy-steps/). The blurb you write here is not intended to be your final book blurb. This one is to give you focus for the editing process. It should help you nail down what you intended to be the essence of your story as you were writing it, including who is your main character and what is it the main character needs to do. Rather than read through your story to see if you wrote everything you thought you wrote (we'll do that later), first create the Blurb worksheet below and fill in the blanks. Exercise: Write Your Blurb If you are creating your notes in your OneNote Novel Editing notebook, follow these steps to complete the exercise:
Once you have thought this out and feel like you have figured out the essence of your story, write it on a sticky note or print it out in 18 point letters so you can refer back to it while working through the rest of your edits. DOWNLOAD: Blurb Worksheet Template Instructions Return to the Table of Contents Go to Day 3 - Outlining (Part 1 - Character Attributes) 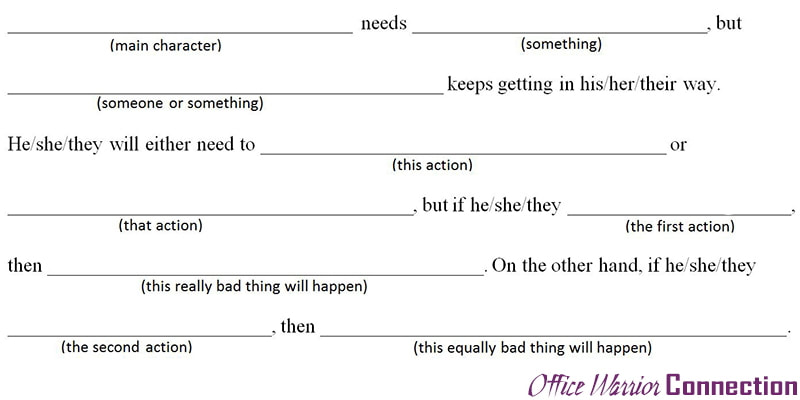 |
 RSS Feed
